HOW TO PREPARE FOR A PRODUCT PHOTOSHOOT
GATHER INSPIRATION
I find the best place to start is with a little mood boarding. My favourite tool for this is Pinterest. I usually start a mood board and share it with my clients, so that we can both contribute our thoughts in visual form.
THINK ABOUT HOW YOU WANT TO USE YOUR IMAGES
Mapping out how you want to use your images and where they will appear ahead of time will ensure you get images which suits your purposes. Generally, images can be broken down into two types:
Product images:
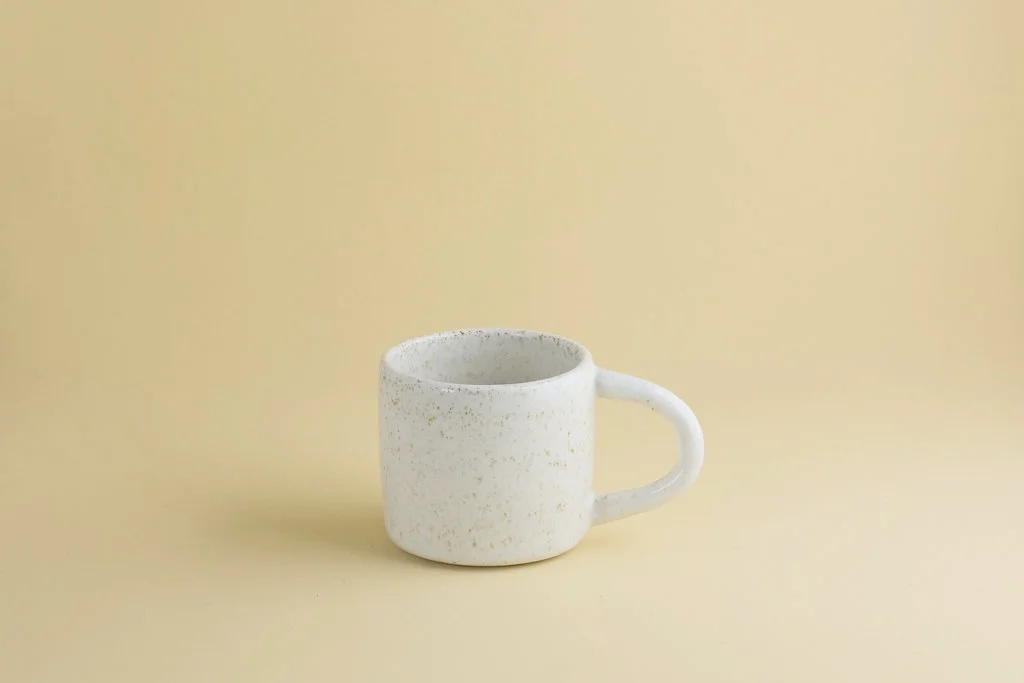
These are typically simple, professional, high quality shots of your product. Products are displayed against a clean seamless backdrop. This style of image is minimalist and its purpose is to showcase your products in details without any distractions. Classic product images are commonly the fundamental building blocks of an eCommerce websites, and usually appear on the page with a “buy” button.
Lookbook images:
Styled or lookbook product images convey your brands vibe and story through the careful selection of a backdrop and props. Lookbook images are commonly used as banners on websites, in catalogs, within print and digital lookbooks, and on social media.
CREATE A SHOT LIST
Now that you have thought through how you would like to use your images, you can choose which style best suite your purposes. It’s a good idea at this stage to make a shot list and take note of all the essential shots you need. Having a shot list keeps you on track with your original vision, and makes sure you don’t miss anything.
BACKGROUNDS
Where are you going to shoot? Would you like a studio environment or an outdoor local? Generally speaking classic product images will take place in a studio environment where sets ups can remain relatively undisturbed and lighting can be controlled for the duration of the shoot.
Lookbook or styled images can either take place in a studio with the use of props and textured backgrounds or can be shot on location for more of a lifestyle feel. Lookbook images usually involve fully styled looks that creates context around the product.
PROPS
Try to choose props that help tell a story, or ones that inject a pop of colour. If you are working with a photographer, they will usually have a selection of props and backgrounds available to for your images, but I always encourage my clients to brings some of their own items too. This helps to keep it personal and on-brand for you.
YOUR PRODUCTS
Yes, the power of digital editing is amazing these days and you can edit out blemishes that appear on your product in post-production. But, it is time consuming and its never going to look as amazing as the the real deal. So before your session get your products together and looking their best. For jewellery, this might mean you thoroughly clean and polish the product surface. For clothing it could be steaming out wrinkles.
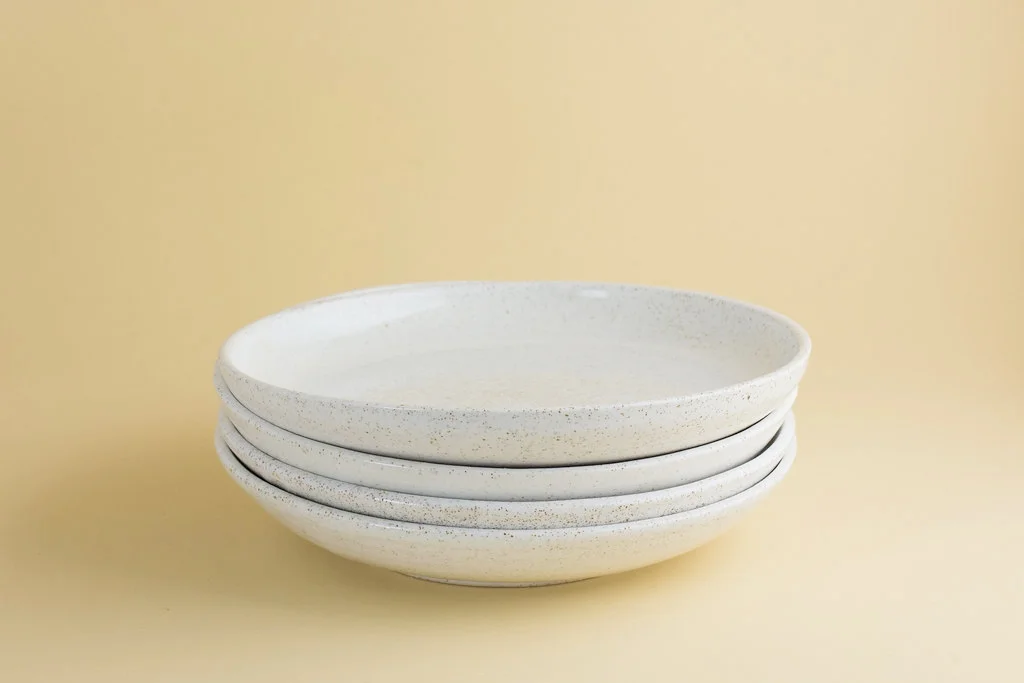
Look back at your shot list and make sure you have all the products you need and the sufficient number of each product. For example if you want a shot with the a stack of ceramic plates, make sure you prepare at least 3 or 5 plates for the photo shoot.
To sum up, it's important to get the most from your photoshoot, so the more planning you do the better.
Hopefully this post has been useful to you. If you've got more questions, feel free to leave a comment below or get in touch on hello@mykindred.com.au
The images included here used props and products from Kindly Clay, I love linen and Brosa Furniture.


